Database migrations are the concept of managing your database schema via reversible, version controlled files. A program is then used to run these "migrations" and keep track of which ones have been run on your database. Migrations are immutable, meaning if you want to change a column name, type or anything else then you have to create a new "migration". Handling your database programmatically gives you many benefits. Namely, providing a consistent schema across all your environments and portability if something happens to your DB. Further, with these files being committed to source control, migrations can be reviewed by others on your team. If you're not already using a tool to do this, I'd encourage you to do so.
Throughout this article, I'll refer to two terms
- Migrations - meaning files that change the schema of the database but not the underlying data
- Seeders - files that insert anonymous data into our staging environments for testing purposes
Normally, these migration and seed files would have to be run manually from a developers computer against the different databases. But, with my obsession with automation, this wouldn't fly. I decided to create an Azure Pipeline runner to handle this for us. It will run automatically whenever new commits on our development or master branch are found. It also reduced stress for me as I know that I will make mistakes, whereas a computer, configured correctly, won't! 😅
Although this article is designed around building azure pipelines for Sequelize migrations. This process can be adapted to other ORM's such as Knex and TypeORM.
Create Your Artifacts
If you're not familiar with Azure, it has a concept of "Artifacts". These are a collection of files that can then be used by other pipelines. We need to create two artifacts, one for our migrations pipeline and the other for our seeding pipeline. In your source control create the following two files - you can copy-paste the code below!
# azure-migrate.yml
pool:
  name: azure-pipeline-runner
pr: none

steps:
  - task: CopyFiles@2
    displayName: "Copy migration scripts"
    inputs:
      contents: "$(Build.SourcesDirectory)/migrations/**"
      targetFolder: $(Build.ArtifactStagingDirectory)

  - task: PublishBuildArtifacts@1
    displayName: "Publish Artifact"
    inputs:
      pathToPublish: $(Build.ArtifactStagingDirectory)
      artifactName: migrate
# azure-seed.yml
pool:
  name: azure-pipeline-runner # the name of your azure pipeline runner
pr: none # Don't run this pipeline for pull requests

steps:
  - task: CopyFiles@2
    displayName: "Publish SequelizeRC"
    inputs:
      Contents: .sequelizerc
      FlattenFolders: true
      TargetFolder: "$(Build.ArtifactStagingDirectory)"

  - task: PublishBuildArtifacts@1
    displayName: "Publish Seed"
    inputs:
      PathtoPublish: seeders
      TargetPath: "$(Build.ArtifactStagingDirectory)"
      ArtifactName: seeders

  - task: PublishBuildArtifacts@1
    displayName: "Publish Sequelize Config Folder"
    inputs:
      PathtoPublish: config
      TargetPath: "$(Build.ArtifactStagingDirectory)"
      ArtifactName: config
In the code above, it first copies the .sequelizerc file that is used to denote various configuration parameters to Sequelize. Next, it creates "build artifacts" for the seeding and migration folders where all the files related to setting up the database are stored. Finally, it publishes them to the azure artifacts library.
Configure Your Runner (Optional)
This step is optional because it depends on your existing setup. All you need to make sure is that your Azure runner (whether self-hosted or not) can access the Database.
We use MySQL Aurora to host our database which sits in a VPC. Our azure-pipeline-runner (defined in the "pool" parameter) is hosted inside the same VPC but a different security group. So, we needed to allow access from the runners' security group to the RDS' security group. This is called "ingress" in AWS. The port you need to allow access to may vary - in our case, it's 3306 which is the default for MySQL.

Getting this setup is a simple process. Check this guide for more info.
Create Your Pipeline
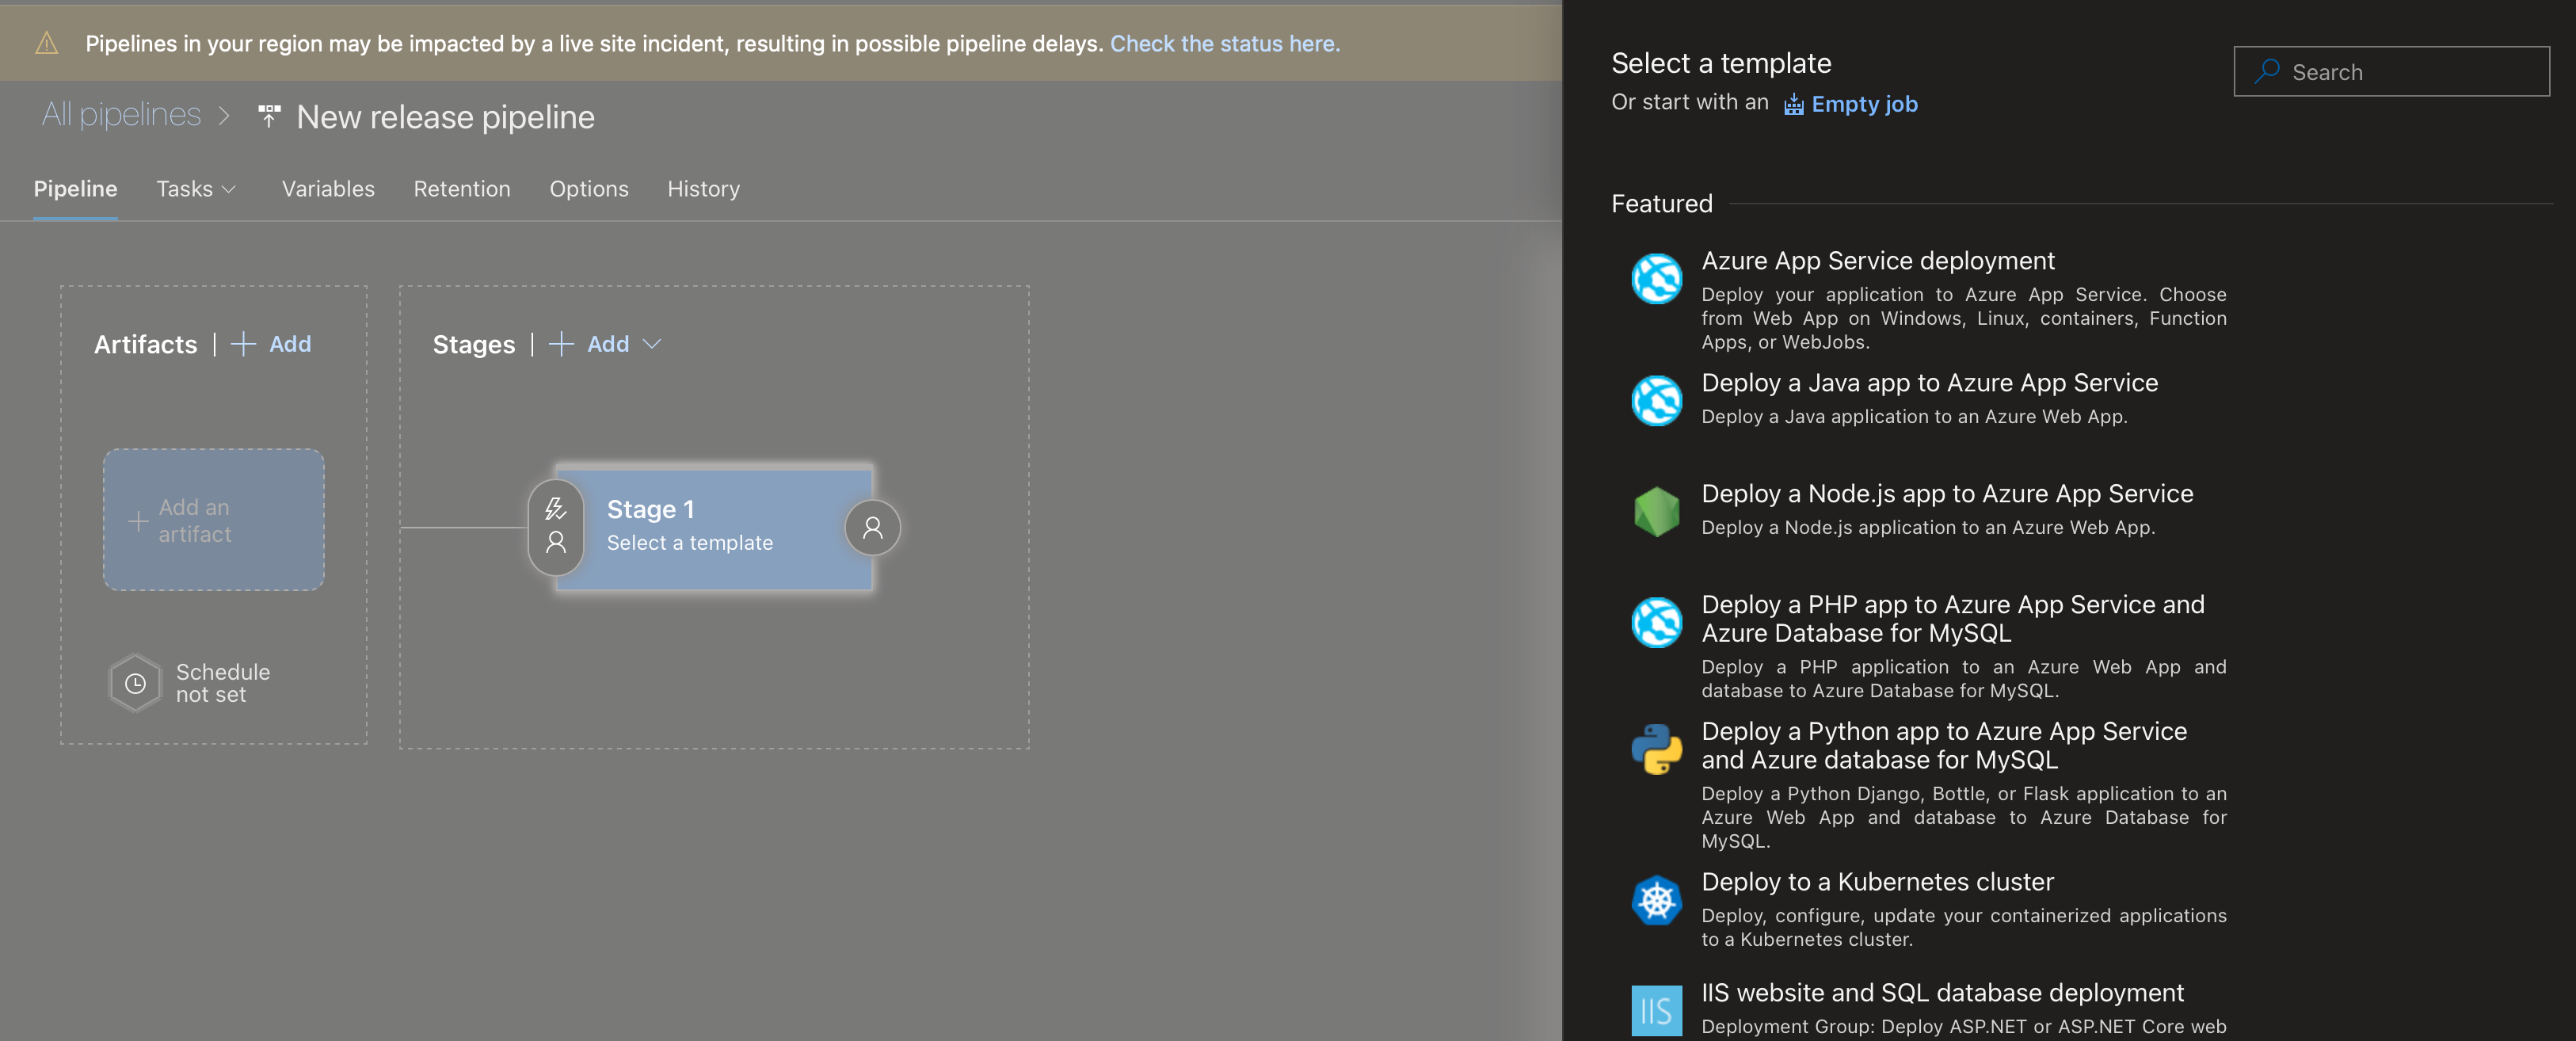
Now we've got our runner configured and our build artifacts published, we can move onto creating the actual pipeline. Go to Pipelines and Releases and click "+ New" and select "Create Release Pipeline" from the dropdown.
You'll be prompted to select a template but we can click "Empty Job"
Next, click the Artifacts box on the left and then find your artifact by searching for it.
You'll be able to find the name of the artifact under "Pipelines > Pipelines". You should see your migration or seeding pipeline that you created earlier. Clicking into one of the runs of this job will reveal the artifact name that the job created.
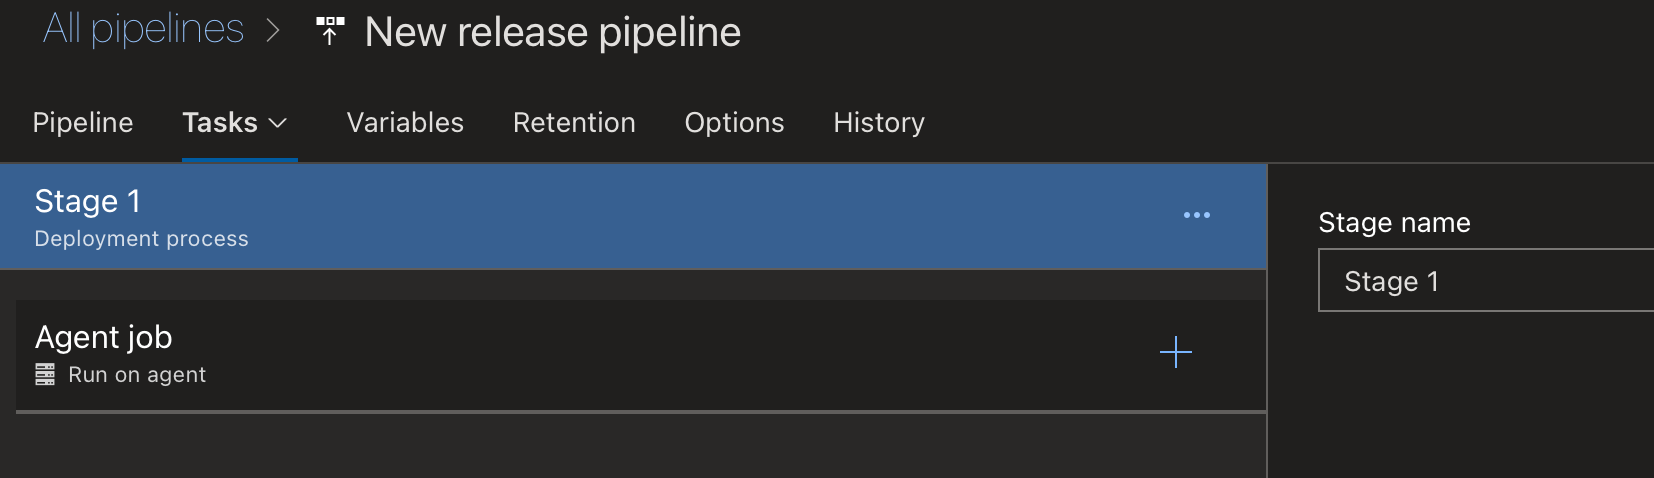
Now, configure a stage. Click on the "Tasks" tab at the top of the page. This will take you to the list of "tasks" that will run for each stage.
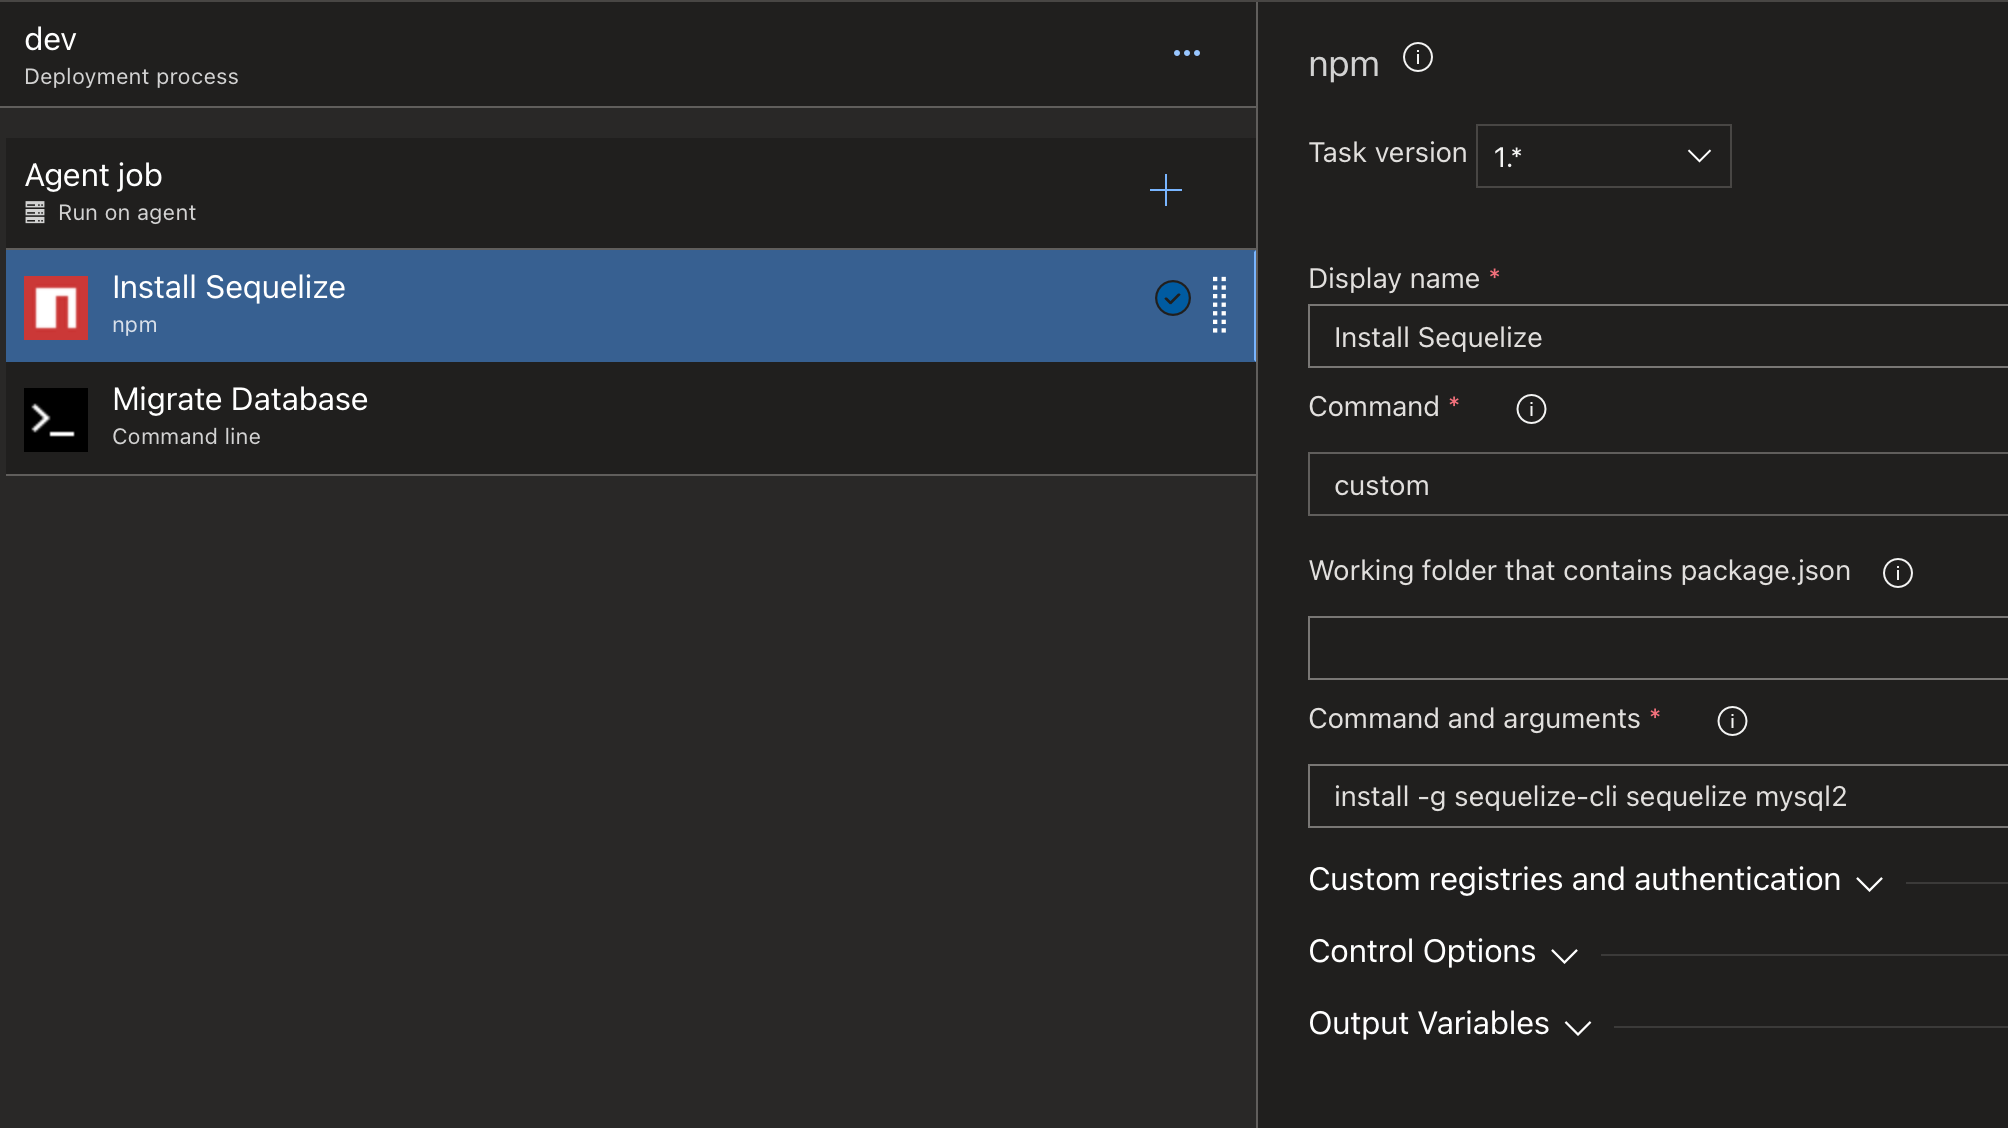
Click to add a new task and search for "npm". We want to first install Sequelize globally on the command line so that it can be used to run the migrations or seeding process. Because we are using MySQL, we also need to install the mysql2 package.
The job should end up looking something like this:
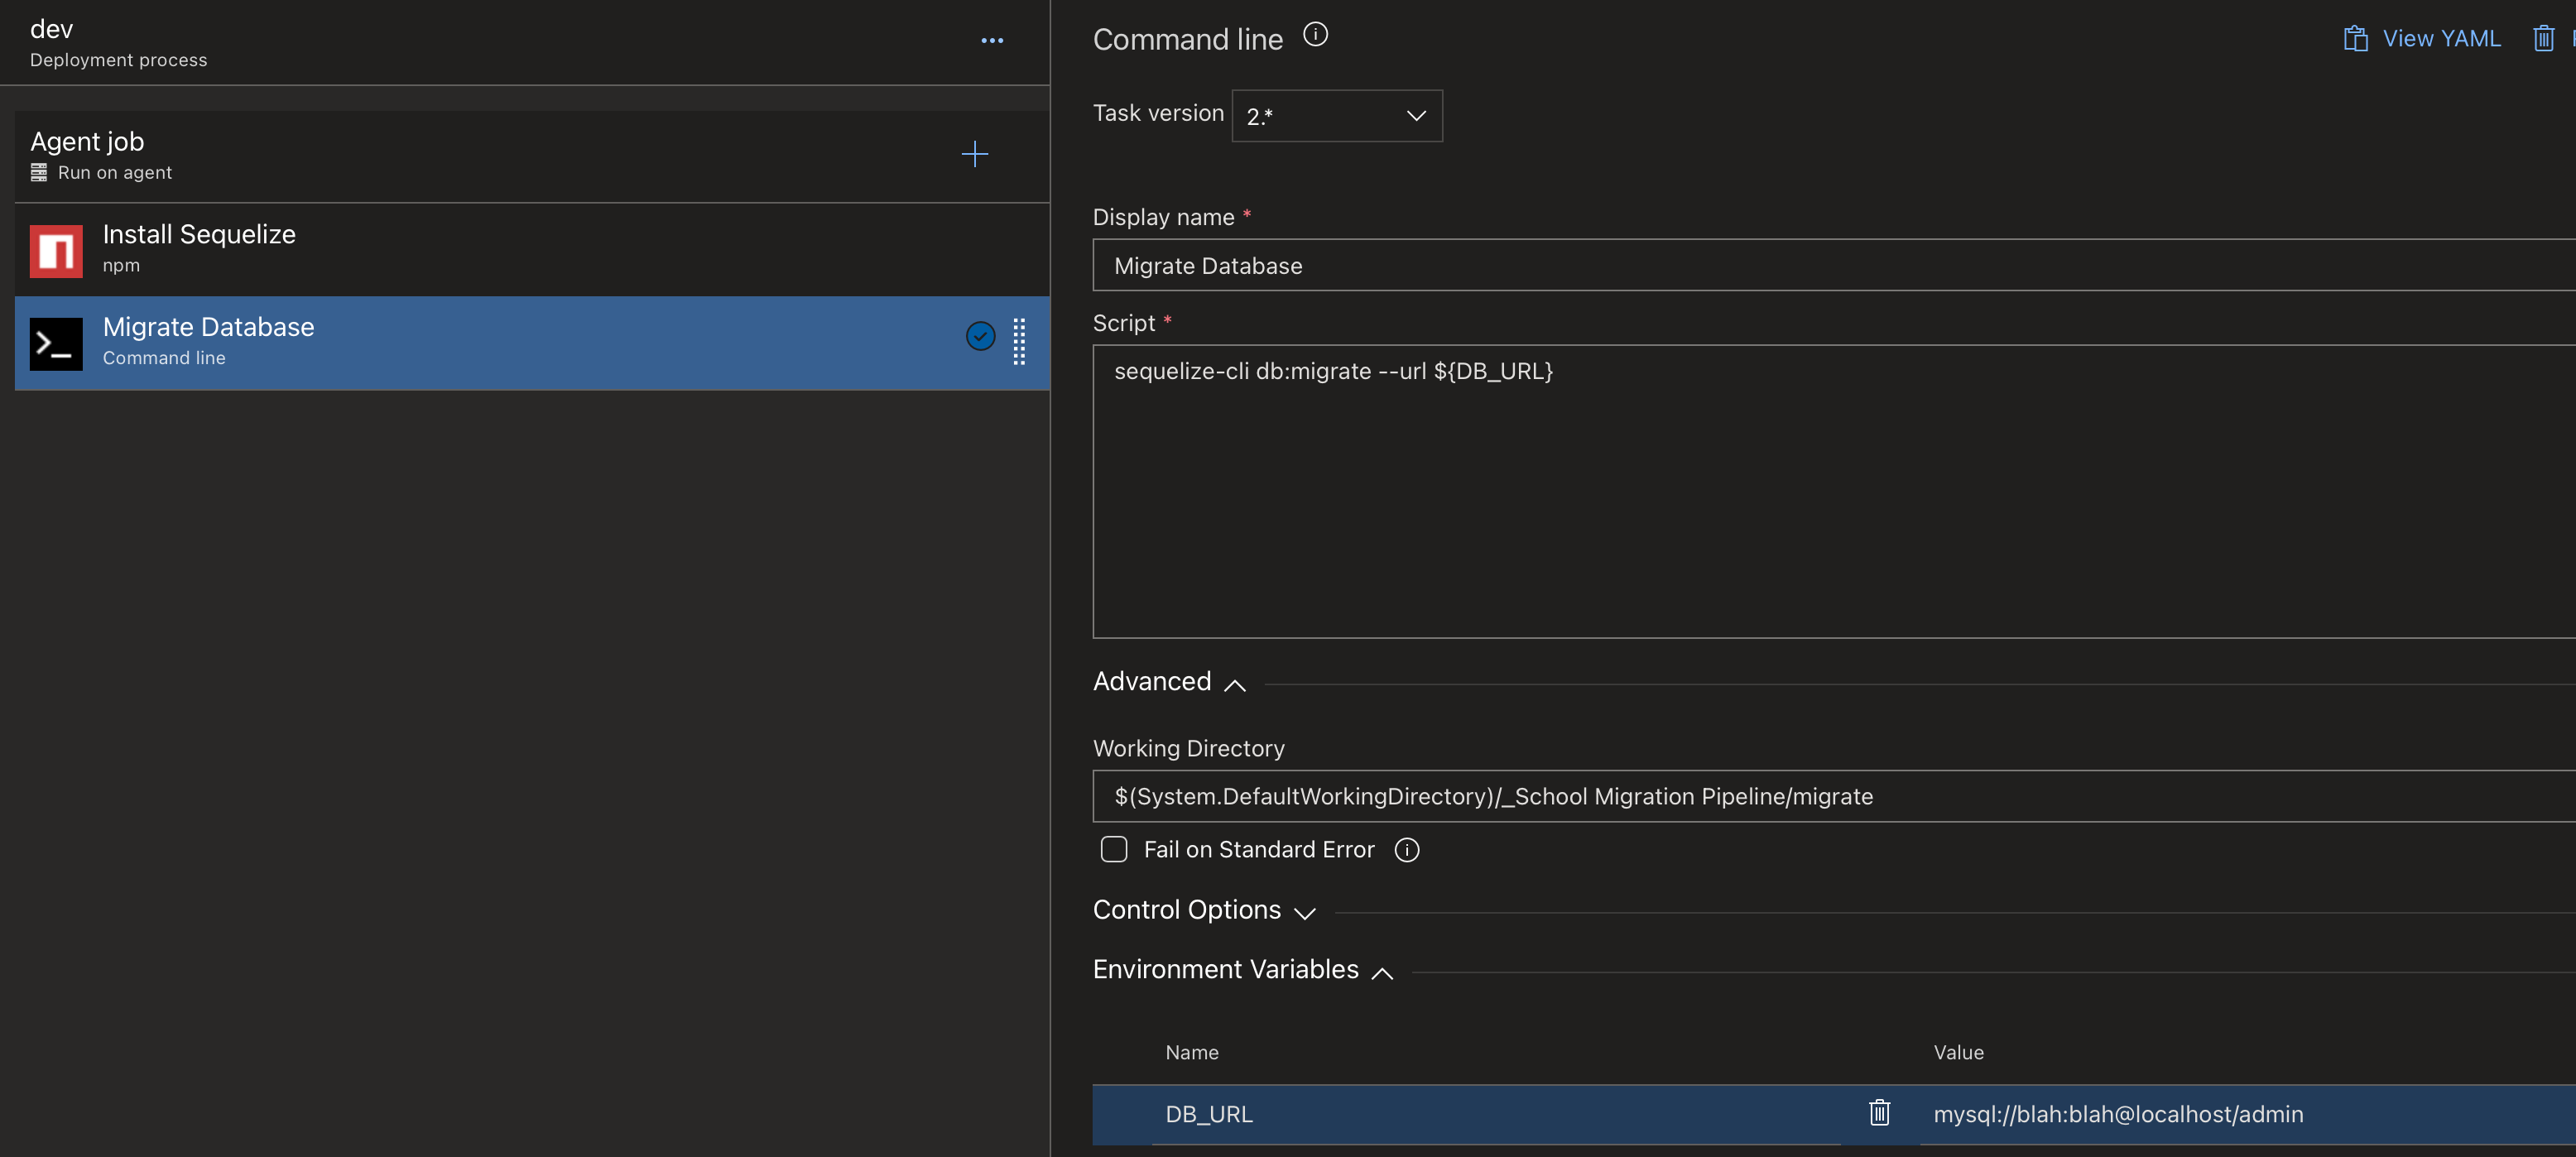
Now we need to add the stage that runs the migrations or seeding process. Click the plus button again and select the "Command Line" job. This will allow us to run the Sequelize commands.
The command we want to run for migrations is:
sequelize-cli db:migrate --url ${DB_URL}
For the seeding process it is:
sequelize-cli db:seed:all --url ${DB_URL}
The documentation for these commands can be found here.
We aren't doing anything fancy asides from passing our Database URL. Since this won't be stored in our Git repo, we need to provide it here as an environment variable.
If something goes wrong. You may need to check that the runner is running files in the correct directory. Ensure that the directory is the root. It should contain a folder called "seeders" or "migrations". These folders should contain the migration and seed files.
Below is how our job ended up
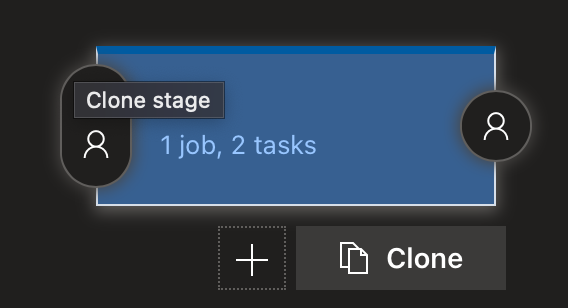
Now you've configured one stage, you can clone it for the others! Go back to the Pipelines view and click the clone button beneath the stage card.
Wrapping Up
I hope this helped you configure your database migrations! Here is a quick summary of what we have learnt.
- Database migrations and seeding processes are important to codify for consistency, portability and review purposes.
- How to configure Azure runners to allow ingress to RDS
- How to create build artifacts in Azure Pipelines
- How to write basic azure pipeline jobs
- How to migrate and seed your database using Azure pipelines.
I'm glad to have this work sorted as it was a bit of a hassle to configure. But, we got there in the end and this is now a durable process that will scale with the team.